Sunday 7 August 2016

A chocolate cake that challenges butter lovers' pride and prejudice

Am I a fan of healthy cakes? No, not really. I don't eat cake often, so when I do, I don't feel guilty about indulging a little. Another reason why I am rather unenthusiastic about healthy desserts is that I am yet to try a vegan (or raw or similarly healthy) cake that doesn't evoke the „It's good... for a vegan cake“ reaction.


But even as a less than progressive thinker (at least when it comes to food), I have to admit that there is a time and place for adjusting your approach to baking. What do you bake when a friend or a family member is gluten and/or lactose intolerant? What about when someone is on a diet – should it really mean they can't have cake at all?


A while ago I stumbled upon this recipe by Laura Fuentes and decided to give it a try. Seeing as this is a paleo (and not a vegan) cake, it does use eggs but is low in carbs and contains no gluten or lactose. While it can't be compared to decadent chocolate cakes with ganache and buttercream and what not, I was both surprised and excited to find that this is a delicious cake, full of flavour and with an incredibly fluffy yet moist texture. It's also SO easy to make. Most of my family members actually prefer this to a traditional cake, because it's so light that even the third slice doesn't leave you gasping for air and cursing your lack of self control.


Another thing that I especially like about it is that decoration is completely up to you. The original recipe suggests sprinkling it with coconut flour, but I like to go a little overboard and also drizzle it with melted dark chocolate and top it off with coarsely chopped almonds and sour cherries. (Note that once you add chocolate this is no longer a strictly paleo cake.)


Give this beauty a try... you can thank me later!


Thursday 17 March 2016

Peanut butter and almond cookies with dark chocolate center

My mission to use up an almost full jar of peanut butter nearing its expiration date yielded these delicious and rather unphotogenic cookies as a result. They go perfectly with tea or coffee, are great for breakfast or a snack, and not so great if you – like me – suffer from a peanut allergy. But what can I say? These are as addictive as a good TV series, and I have very little self control.

You will need:
100 g butter (room temperature)
150 g peanut butter
90 g sugar
2 eggs
200 g flour
2 tbsp coconut flour
150 g almond meal
50 g almonds, chopped
100 g (approximately) dark chocolate (about 80% cocoa solids)

In a stand mixer, cream the butter with sugar and peanut butter for about two minutes. Add the eggs and let it mix for another few minutes, until the mixture gets very pale and fluffy.


Mix in the all-purpose and coconut flour, then add the almond meal and lastly the chopped almonds. At this point the dough will get too hard for a whisk attachment, so use your hands to knead it thoroughly.


Break the chocolate into pieces (not too small), then cover each piece of chocolate with cookie dough. A fair warning – this dough feels very oily and crumbly, and is kind of a pain in the butt to work with. But, you know, a little patience goes a long way. Make sure the chocolate is completely covered with the dough; it reduces the chance of it leaking out of the cookies as they bake.


Bake at 180°C for 20 to 30 minutes, depending on your oven and size of the cookies.


Hercule Poirot coffee cup by polonapolona


Thursday 31 December 2015

Donna Hay's one bowl chocolate cake: I'm converted

Today we're talking chocolate cakes.

I've tried a lot of chocolate cakes and I've tried a lot of chocolate cake recipes. This one by Donna Hay might be my all time favourite. It's quite extraordinary how a recipe that simple results in a cake that good. I know some people prefer their chocolate cake to have a light sponge and a fluffy filling, and I can respect that. This, however, is a true chocolate lover's cake. Very rich and dense and... well, perfect.

Wine is optional (but shouldn't be).

When you bake it and let it cool only slightly before serving, you'll get quite a heavenly creamy texture – exactly what you see in Donna's video. This is my favourite way of serving (and eating) it. If you refrigerate it for a few hours or overnight, however, you'll get a different texture: harder, denser, but no less delicious.

Second day texture


The recipe needs no changes and neither does the technique. I follow Donna's instructions exactly and I'm never disappointed.


I know half the chocolate cakes out there claim to be the ultimate or the best you ever had, but seriously, do yourself a favour and try this one!

Friday 25 December 2015

Cheating on the oven: Holiday chocolate truffles

We all know those things you get as Christmas gifts that you don't really want or need. Then they just sit in some corner and collect dust while you wonder how to get rid of that ugly vase without your aunt noticing or whether you'll ever use all the fourteen pairs of sock with a deer pattern that you own by now. That's why I always liked both giving and recieving edible gifts. And if you tell me you don't really want or need these 
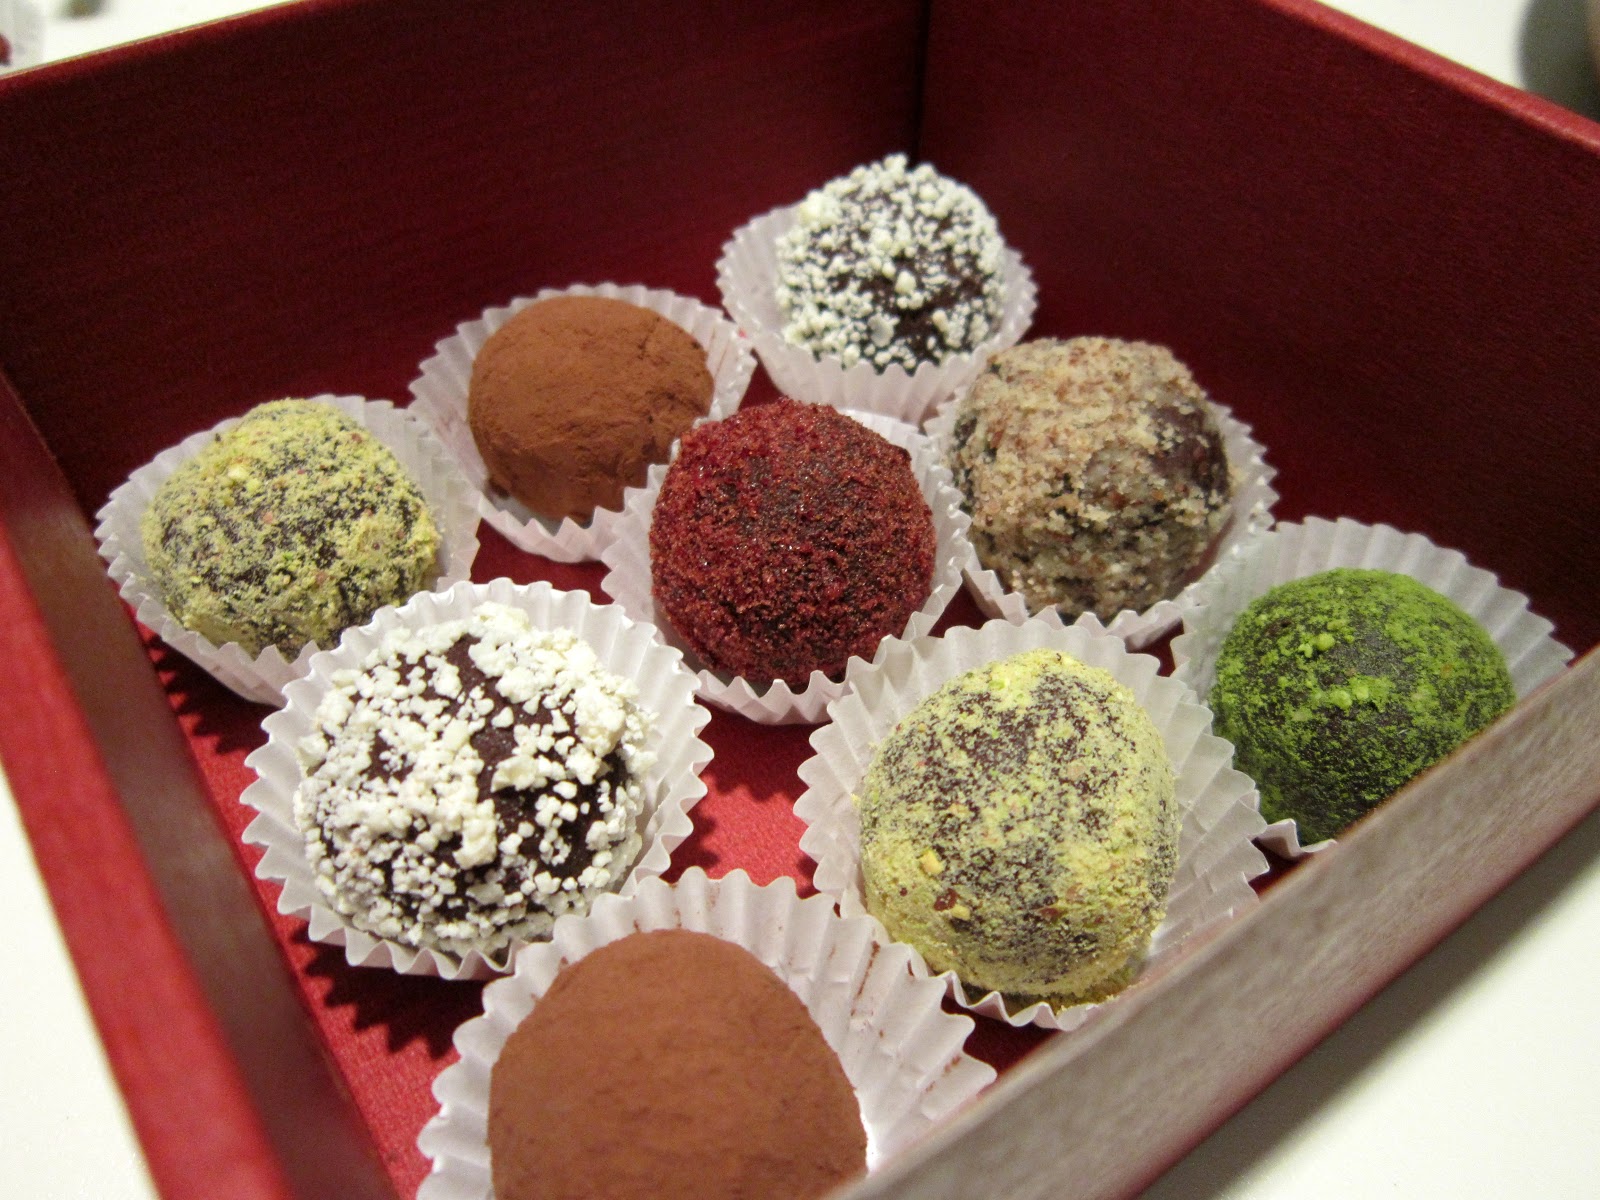
luscious chocolate truffles, I just have one thing to say to you: have you seen them?


To make 40 to 50 truffles you will need:
450 g dark chocolate (about 70% cocoa solids)
250 ml whipping cream
pinch of salt
vanila extract

cocoa powder
white chocolate
dried cranberries
pecans
pistachios
wheatgrass powder

Make the ganache:
Break chocolate into small pieces or chop it with a knife (even better) and put in in a heatproof bowl.

Pour the cream into a pot and heat it with the vanilla untill it just starts to simmer. Then pour it over the chocolate, add a pinch of salt and let it sit for around ten minutes. If you want to add something else, like a splash of champagne or peppermint extract, now is a good time to do it.


After the ten minutes, you can start to stir it with a whisk or spatula until you get a smooth ganache.


Take a square or rectangular cake mold (not too big or the truffles will be too flat), line it with plastic wrap and fill it with the ganache. Fold the sides of the plastic wrap over the ganache so it's sealed, then put it in the fridge for about an hour.


Prepare the toppings:

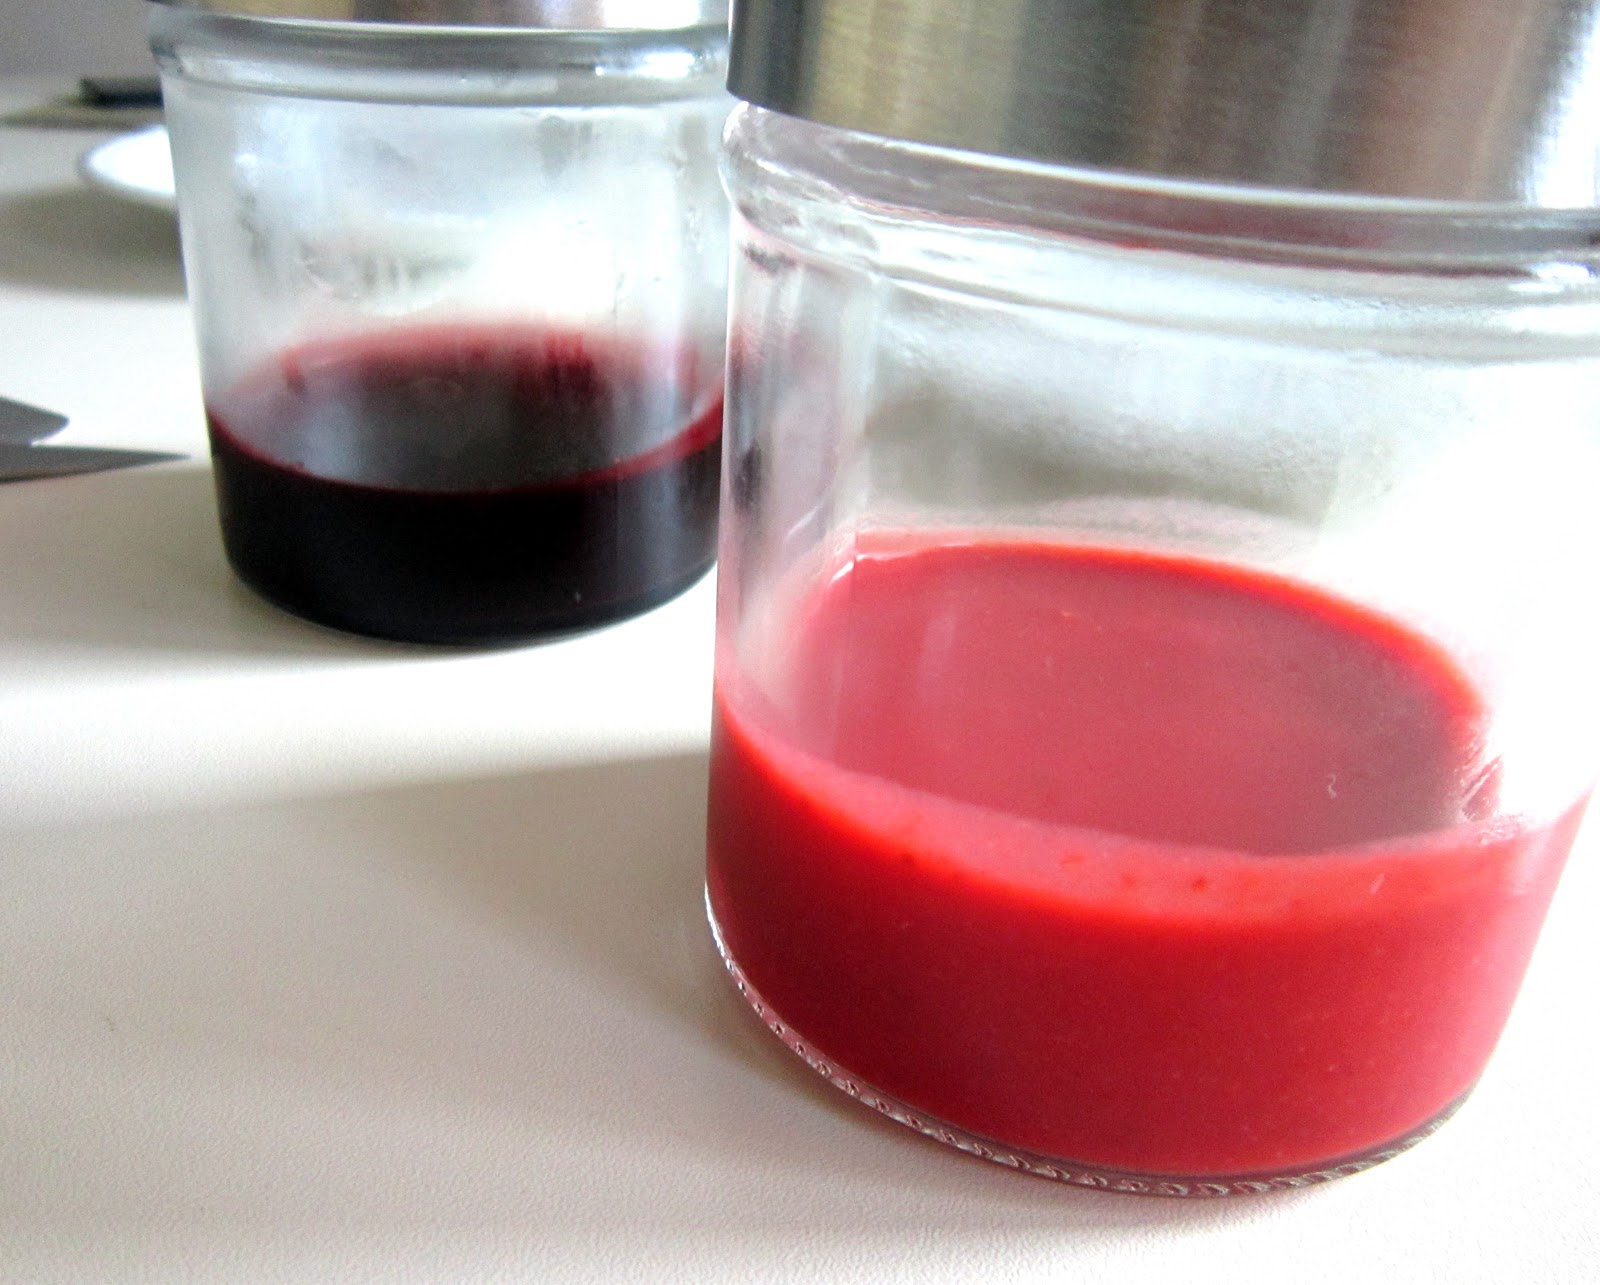
Finely chop the cranberries, then put them in the oven and let them dry at 90°C for around 30 minutes. Keep an eye on them so they dont get burnt. Let them cool, then grind them into a fine powder.

Grind the pistachios, then separate them into two halves and add half a teaspoon of wheatgrass powder to one half to get a more vivid green colour. My pistachios were already roasted so they had were yellow when ground, but if you use fresh ones, you'll get a green powder without using wheatgrass.

Grind the white chocolate and pecans, too.


Top (left to right): pistachios with wheatgrass powder, pecans, pistachios, cranberries
Bottom: white chocolate, cocoa powder

Note: when choosing the toppings, note that some things tend to stick to the truffles better then others. Cocoa powder does the job superbly, while pecans were quite a pain in the butt to work with. I have to say I was also impressed with the cranberry powder – it's easy to work with and I love the taste and colour.

Make the truffles: 
Now it's time to get your hands dirty, so get the ganache out of the fridge, unwrap it and place it on a cutting board.

If you own one of those small scoops, you can make ball shaped truffles. The scoop will give them a sort of round shape, but to get them perfectly round, you'll need to use your hands to roll them. I actually suggest using latex gloves to do this, because chocolate won't stick to them as much as it would to your skin and it will make the process much less messy.


By far the easiest and quickest shape to do, however, is cubes. They require no special equipement, as a knife is all you need. Get a glass of hot water and a paper towel, so you can keep your knife hot (and dry!). Before you start cutting the ganache into cubes, smoothen the top of the ganache with the knife and make sure the sides are even, too.


Cover the truffles in your toppings and voilà - you are now ready to impress your friends and family with these homemade beauties.


Use as holiday gifts or serve as after dinner treats.


Monday 21 September 2015

Failing and winning at cheesecake

Cheesecake is easily one of my all time favourite desserts. The first time I ever made it was a few years ago and I used a recipe by chef John from Foodwishes that has since become my go-to cheesecake recipe as it needs absolutely no changes or improving. I fell in love with the taste and texture and to this day I prefer to make my own cheesecake rather than buy one (but I guess that's the case with most desserts).


The thing with cheesecake is, though, that it's not the easiest dessert to bake perfectly. Considering how easy the batter is to make, there is a surprising number of things you can do wrong. One of the most common problems you can encounter is a nasty crack in your cheesecake which can occur when you overmix the batter, bake it at a higher than recommended temperature, open the oven door at the wrong time, not let it cool in the oven et cetera et cetera et cetera. Even when you take every precaution possible, you might still get a crack, which is exactly what happened to me every single time I made cheesecake. This is how it'd usually go: I put the cheesecake in the oven, for a while nothing happens, next thing I know it's rising like crazy (making it look like it has tumors), cracks and then deflates.

Deflating usually somewhat conceals the cracks or at least makes them look smaller, but that's not what you're going for. I wanted a perfectly smooth cheesecake. So this time I decided I'd try something else, and given that pretty much every baker suggests using a water bath, I thought I'd give that a try.

What most people do is wrap the spring form pan in aluminium foil to prevent water leaking into the pan. So I wrapped it in several layers of aluminium foil, put the pan in a larger pan and fillied it with water. I was a bit sceptical, but when I saw my cheesecake baking more evenly that I could possibly hope for, I was impressed to say the least.

Everything was looking great. I waited for it to cool before I took it out of the oven, then proceeded to remove it from the water bath. This is when the trouble began. As I started removing the foil I realised it hadn't prevented the water from leaking. I removed the pan ring and was very unhappy to see that the crust was all soggy. It did't look too apetizing either and I knew I could never eat or serve it like that. My first instinct was to google „cheesecake waterbath fail what do i do“ but none of the suggestions I could find online was very helpful.

Luckily, I can say I'm a resorceful person and am generally good at fixing things. So I covered the cheesecake with parchment paper, flipped it over onto a plate and then carefully put it back into the pan, crust facing up. I put it back in the oven and baked it at 180°C for additional 10 minutes. It came out just perfect, the crust was crunchy and all the excess moisture was gone. I let it cool again, then it was finally ready for refrigeration.

I have to say I'm quite proud of my mad MacGyver skills that saved this weekend's dessert. In the end it was one of the best cheesecakes I've ever made taste-wise and definitely my best one in terms of looks. I served it with two different kinds of sauce (strawberry and blueberry, both very good, even if I say so myself) and fresh blueberries.

So, is the water bath worth the hype? Well, it definitely does what it says it would – makes the cheesecake bake evenly. My problem was that the foil wasn't large enough and I don't think any number of layers would have kept out the water. In the future I'll either find a larger roll of aluminuim foil or use a smaller pan, but all in all I'd rather have a crack (which in the words of chef John can be used as a cutting guide and can in fact be quite convenient) than a soggy crust.

I definitely recommend you try chef John's recipe as it's by far the best cheesecake I've ever tried and I never got anything but compliments for it. Note that when using a water bath,though, it does take longer to bake; I baked mine for around 90 minutes.


Happy baking!