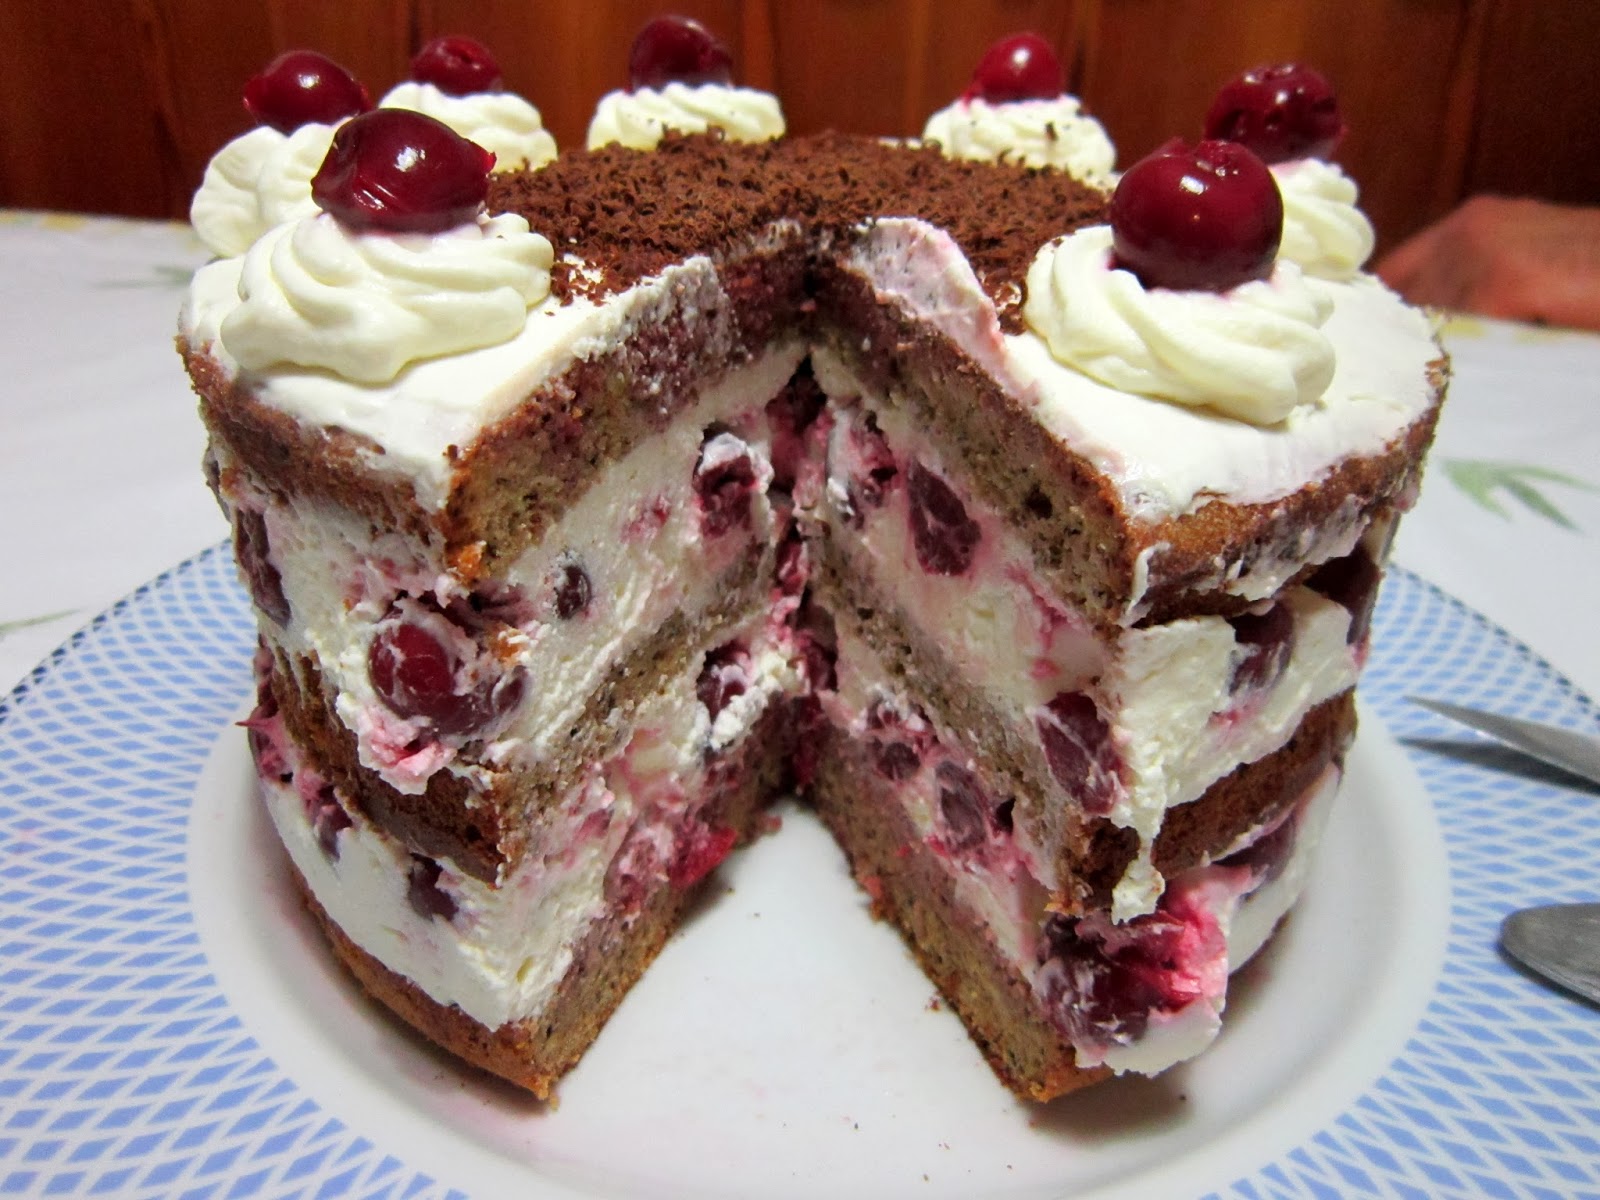
This cake might not feed 10 hungry people but
it is one of the prettiest cakes I've ever made. The sponge is soft and the
cream with tiny bits of chocolate compliments strawberries fabulously. I made
this cake as a birthday present for a friend and I was told it was “too good”
so it might be worth it to give it a try and find out just how good it really
is for yourself.

You will
need:
For the sponge (16 cm Ø tin):
For the
sponge:
4 eggs,
separated
4 tbsp
brown sugar
1 tbsp
vanilla sugar
4 tbsp
flour
3 tbsp
ground dark cooking chocolate
1 tsp cocoa
powder
For the
filling:
150 ml
whipping cream
150 g
mascarpone
4 tbsp
ground dark cooking chocolate
2 tbsp vanilla
sugar
150 g
strawberries
For the strawberry
sauce:
50 g
strawberries
1 tbsp
vanilla (or regular) sugar
juice from ½
a lemon
1 tbsp water
For the chocolate
icing and decoration:
approx. 50
g dark chocolate
50 ml
whipping cream
4
strawberries (not too big)
about a
tbsp melted white chocolate
Optional:
additional strawberries to place in the middle of the cake
Make the sponge:
Beat the egg whites with an electric mixer
until they form stiff peaks.

In a
different bowl, beat the egg yolks with the sugar and vanilla sugar for a few
minutes until the mixture gets very very pale and fluffy.


Sift the
flour, chocolate and cocoa powder together and mix them thoroughly. With a
spatula fold the flour mixture and egg whites into the egg yolk mixture. Do it
very gently and very slowly, altering between the flour and egg whites and adding
only a spoonful of each at a time. Don’t over mix.


Pour the
batter into a spring form tin, lined with parchment paper.


Bake at 180°C
for 20-25 min until the top is golden brown.

Once it’s
done, cover the tin with a piece of aluminium foil and let it cool completely.
The sponge will deflate during the process of cooling down so don’t be alarmed
if the previously round and firm top becomes all wrinkly. It will still taste
just as good.
Once it’s
cooled, remove the tin. Cut the cake into three even layers and cut a hole in
the middle with a small (7 cm Ø) cake ring.


Make the filling:
Whip the
cream with some vanilla sugar, then add mascarpone and ground chocolate. Let it
sit in the fridge while you prepare the strawberries.


Wash and
dry the strawberries. Choose the prettiest ones – you are going to use them on
top of the cake. Make sure they are of approximately the same size.
Cut the
rest of the strawberries into smaller pieces.

Strawberry
sauce:
For the
sauce, put 50 grams of strawberries into a small saucepan along with lemon
juice, about a tablespoon of vanilla sugar (you can also use regular sugar
here) and a tablespoon of water. Let it simmer on low heat for about 5 minutes,
then mix it with a stab mixer or in a food processor. Before you use the sauce,
strain it to get rid of any solid bits.


Assemble the cake:
Now you can
assemble the cake. Place the first layer of sponge on a cake base or a serving
plate. Place a cake ring around it and a small cake ring (the one you used to
cut out a hole), covered with parchment paper or foil in the middle.
Brush the
sponge with strawberry sauce before covering it with a layer of cream and
mascarpone filling and strawberries.


Cover it with the next layer of sponge and
repeat. Let the cake rest in the fridge for at least an hour before you remove
the cake ring.
Prepare the icing and decorate the cake:
Melt the
chocolate over a pot of simmering water. Cut the strawberries into halves, dip
them in chocolate and place them on a sheet of parchment paper to cool.
Use the
remaining chocolate to make the icing: add a splash of whipping cream and mix
until you get a smooth and thick chocolate sauce. Let it cool slightly.

Remove
both cake rings and ice the cake and top it with strawberries. For that final
touch, drizzle the strawberries with a bit of melted white chocolate.
If you
wish, you can also put strawberries in the middle of the cake, into the hole
you cut out, like I did.