Friday, 25 December 2015

Cheating on the oven: Holiday chocolate truffles

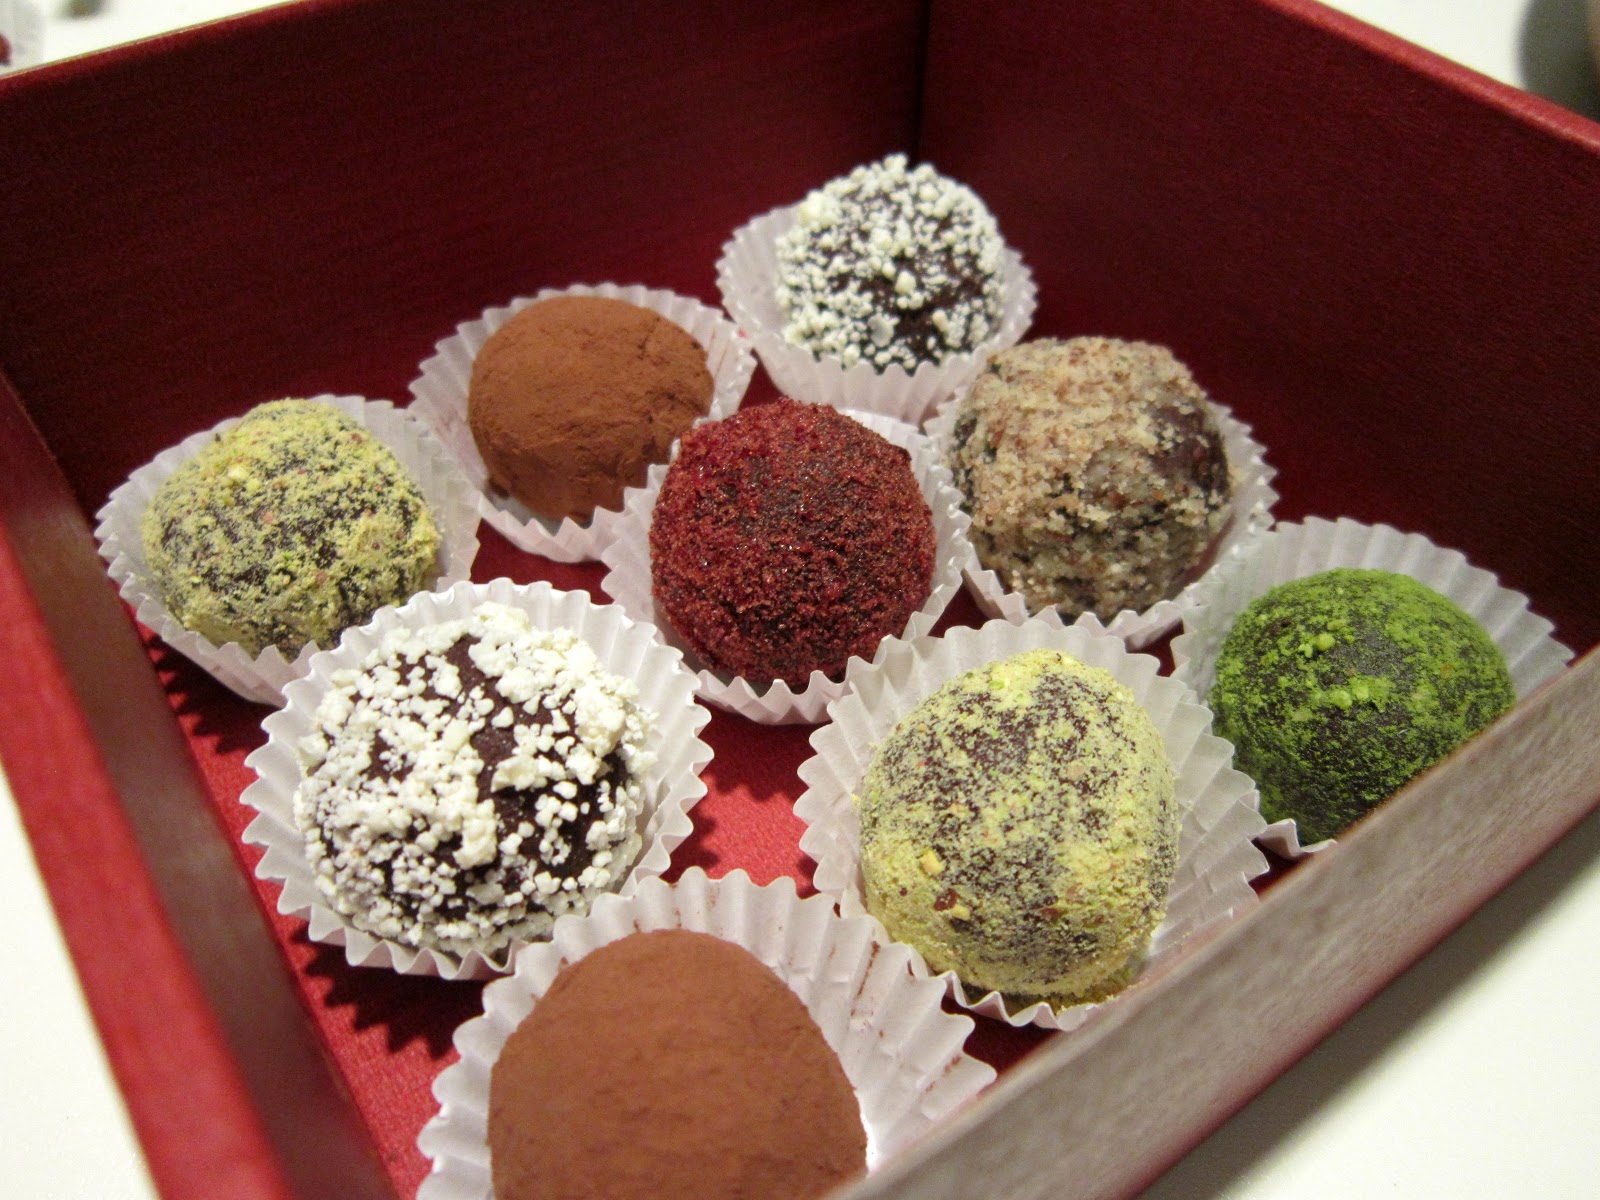
We all know those things you get as Christmas gifts that you don't really want or need. Then they just sit in some corner and collect dust while you wonder how to get rid of that ugly vase without your aunt noticing or whether you'll ever use all the fourteen pairs of sock with a deer pattern that you own by now. That's why I always liked both giving and recieving edible gifts. And if you tell me you don't really want or need these luscious chocolate truffles, I just have one thing to say to you: have you seen them?


To make 40 to 50 truffles you will need:
450 g dark chocolate (about 70% cocoa solids)
250 ml whipping cream
pinch of salt
vanila extract

cocoa powder
white chocolate
dried cranberries
pecans
pistachios
wheatgrass powder

Make the ganache:
Break chocolate into small pieces or chop it with a knife (even better) and put in in a heatproof bowl.

Pour the cream into a pot and heat it with the vanilla untill it just starts to simmer. Then pour it over the chocolate, add a pinch of salt and let it sit for around ten minutes. If you want to add something else, like a splash of champagne or peppermint extract, now is a good time to do it.


After the ten minutes, you can start to stir it with a whisk or spatula until you get a smooth ganache.


Take a square or rectangular cake mold (not too big or the truffles will be too flat), line it with plastic wrap and fill it with the ganache. Fold the sides of the plastic wrap over the ganache so it's sealed, then put it in the fridge for about an hour.


Prepare the toppings:

Finely chop the cranberries, then put them in the oven and let them dry at 90°C for around 30 minutes. Keep an eye on them so they dont get burnt. Let them cool, then grind them into a fine powder.

Grind the pistachios, then separate them into two halves and add half a teaspoon of wheatgrass powder to one half to get a more vivid green colour. My pistachios were already roasted so they had were yellow when ground, but if you use fresh ones, you'll get a green powder without using wheatgrass.

Grind the white chocolate and pecans, too.


Top (left to right): pistachios with wheatgrass powder, pecans, pistachios, cranberries
Bottom: white chocolate, cocoa powder

Note: when choosing the toppings, note that some things tend to stick to the truffles better then others. Cocoa powder does the job superbly, while pecans were quite a pain in the butt to work with. I have to say I was also impressed with the cranberry powder – it's easy to work with and I love the taste and colour.

Make the truffles: 
Now it's time to get your hands dirty, so get the ganache out of the fridge, unwrap it and place it on a cutting board.

If you own one of those small scoops, you can make ball shaped truffles. The scoop will give them a sort of round shape, but to get them perfectly round, you'll need to use your hands to roll them. I actually suggest using latex gloves to do this, because chocolate won't stick to them as much as it would to your skin and it will make the process much less messy.


By far the easiest and quickest shape to do, however, is cubes. They require no special equipement, as a knife is all you need. Get a glass of hot water and a paper towel, so you can keep your knife hot (and dry!). Before you start cutting the ganache into cubes, smoothen the top of the ganache with the knife and make sure the sides are even, too.


Cover the truffles in your toppings and voilà - you are now ready to impress your friends and family with these homemade beauties.


Use as holiday gifts or serve as after dinner treats.


Monday, 21 September 2015

Failing and winning at cheesecake

Cheesecake is easily one of my all time favourite desserts. The first time I ever made it was a few years ago and I used a recipe by chef John from Foodwishes that has since become my go-to cheesecake recipe as it needs absolutely no changes or improving. I fell in love with the taste and texture and to this day I prefer to make my own cheesecake rather than buy one (but I guess that's the case with most desserts).


The thing with cheesecake is, though, that it's not the easiest dessert to bake perfectly. Considering how easy the batter is to make, there is a surprising number of things you can do wrong. One of the most common problems you can encounter is a nasty crack in your cheesecake which can occur when you overmix the batter, bake it at a higher than recommended temperature, open the oven door at the wrong time, not let it cool in the oven et cetera et cetera et cetera. Even when you take every precaution possible, you might still get a crack, which is exactly what happened to me every single time I made cheesecake. This is how it'd usually go: I put the cheesecake in the oven, for a while nothing happens, next thing I know it's rising like crazy (making it look like it has tumors), cracks and then deflates.

Deflating usually somewhat conceals the cracks or at least makes them look smaller, but that's not what you're going for. I wanted a perfectly smooth cheesecake. So this time I decided I'd try something else, and given that pretty much every baker suggests using a water bath, I thought I'd give that a try.

What most people do is wrap the spring form pan in aluminium foil to prevent water leaking into the pan. So I wrapped it in several layers of aluminium foil, put the pan in a larger pan and fillied it with water. I was a bit sceptical, but when I saw my cheesecake baking more evenly that I could possibly hope for, I was impressed to say the least.

Everything was looking great. I waited for it to cool before I took it out of the oven, then proceeded to remove it from the water bath. This is when the trouble began. As I started removing the foil I realised it hadn't prevented the water from leaking. I removed the pan ring and was very unhappy to see that the crust was all soggy. It did't look too apetizing either and I knew I could never eat or serve it like that. My first instinct was to google „cheesecake waterbath fail what do i do“ but none of the suggestions I could find online was very helpful.

Luckily, I can say I'm a resorceful person and am generally good at fixing things. So I covered the cheesecake with parchment paper, flipped it over onto a plate and then carefully put it back into the pan, crust facing up. I put it back in the oven and baked it at 180°C for additional 10 minutes. It came out just perfect, the crust was crunchy and all the excess moisture was gone. I let it cool again, then it was finally ready for refrigeration.

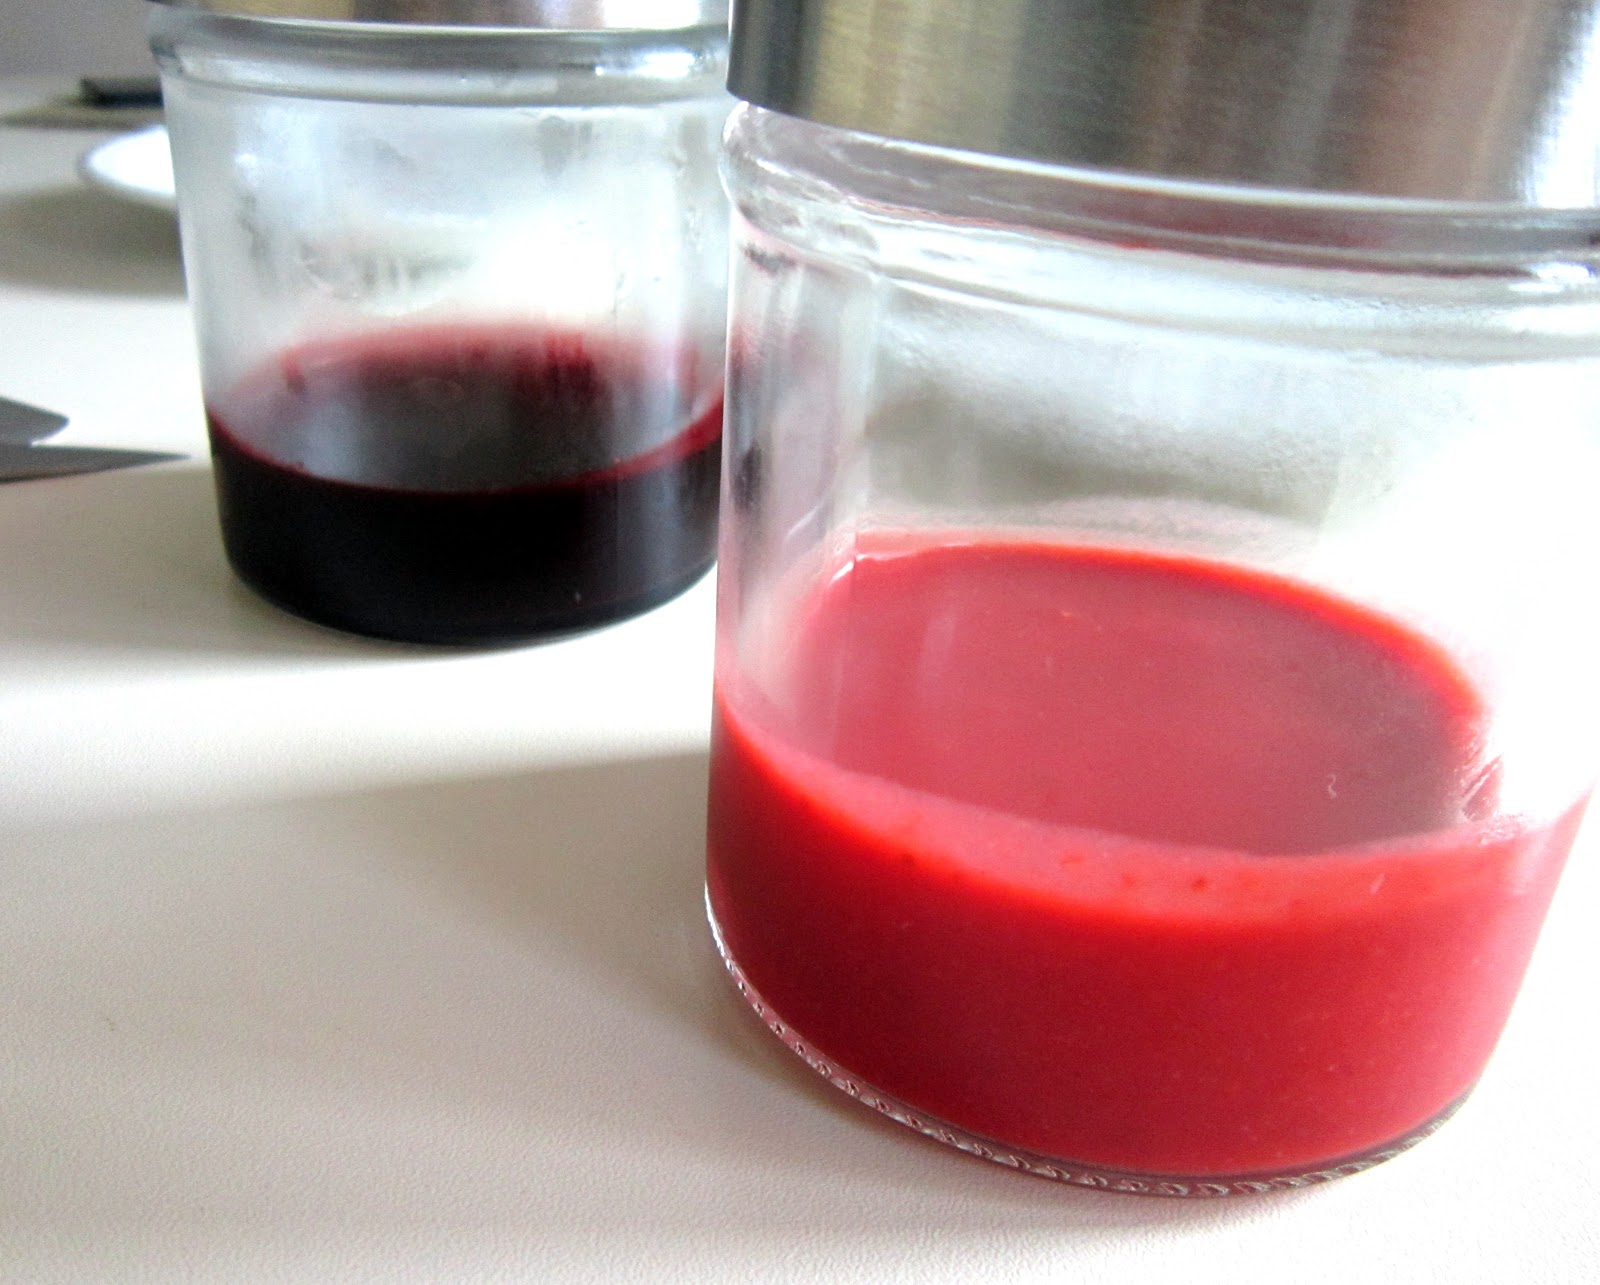
I have to say I'm quite proud of my mad MacGyver skills that saved this weekend's dessert. In the end it was one of the best cheesecakes I've ever made taste-wise and definitely my best one in terms of looks. I served it with two different kinds of sauce (strawberry and blueberry, both very good, even if I say so myself) and fresh blueberries.

So, is the water bath worth the hype? Well, it definitely does what it says it would – makes the cheesecake bake evenly. My problem was that the foil wasn't large enough and I don't think any number of layers would have kept out the water. In the future I'll either find a larger roll of aluminuim foil or use a smaller pan, but all in all I'd rather have a crack (which in the words of chef John can be used as a cutting guide and can in fact be quite convenient) than a soggy crust.

I definitely recommend you try chef John's recipe as it's by far the best cheesecake I've ever tried and I never got anything but compliments for it. Note that when using a water bath,though, it does take longer to bake; I baked mine for around 90 minutes.


Happy baking!


Friday, 17 April 2015

Easy like Sunday morning sundae cakes

This is a classic dessert that I shaped like a small cake. It's very easy to make: takes little time, little skill, and little cleaning up.


This recipe will feed 2 to 4 (depending on the shape and size of your cakes). You will need:

For the brownie:
75 g dark chocolate
3 tbsp milk
2 tbsp butter
2 eggs
50 g sugar
40 g flour
1 tbsp cocoa powder

For the sauce:
100 g fresh strawberries
2 tbsp sugar
a splash of lemon juice

For assembling the cakes:
ice cream of your choice, i used plain vanilla
100 g fresh strawberries


Make the brownie:
Place a bowl with chocolate, butter, and milk over a pot of simmering water and let them slowly melt together, stirring occasionally. Then turn the heat off and let it cool to room temperature.


In another bowl beat the eggs and sugar with a whisk or an electric mixer, then add the chocolate mixture.


Sift in the flour and cocoa powder and mix it all together. Pour the batter into a small lined and greased mould.


Bake at 175°C for 30 to 35 minutes.


Make the sauce:
Wash and chop the strawberries. Save one half of them for later, and put the other half in a small saucepan along with a splash of lemon juice and two tablespoons of sugar (use less or more sugar depending on the sweetness of your strawberries). Let it stew very slowly until the strawberries become soft. Then either smash them with a fork or process in a blender, and pour through a sift to get rid of any lumps.


Assemble the cakes:
Place the brownie onto a cutting board and cut out circles or any other desired shape. Cut the same shape out of ice cream and place it over your brownie. I used a 7 cm ∅ cake ring.


Top with fresh strawberries and hot strawberry sauce.


Enjoy!


Saturday, 14 March 2015

Ricotta and cottage cheese pie

This pie might just be the perfect compromise between a classic cheesecake and a dessert that, when instagrammed, could be accompanied with hashtags like #healthy, #fit and #cleaneating. Packed with ricotta and eggs, this easy-to-make pie might not be vegan, lactose-free or gluten-free, but is definitely much healthier than cheesecake, and (I dare say) much more delicious than most things that your instafamous fitness gurus would recommend (but maybe that's just because it isn't vegan, lactose-free or gluten-free. Sorry, not sorry.)


You will need (for a standard size pie dish):

For the crust:
18 whole wheat butter biscuits (European alternative for graham crackers)
70 g butter, melted

For the filling:
500 g ricotta
250 g cottage cheese
100 g sour cream (optional)
75 g sugar
1 tsp vanilla
1 tsp lemon zest
5 eggs

Make the crust:
Break the biscuits into smaller pieces, than crush them in a food processor until finely ground. Add melted butter and mix in the food processor. Put the mixture in a pie dish and press it down firmly with your hands so you get an even base.


Make the filling:
In your food processor, mix together the ricotta, cottage cheese and sour cream with sugar and vanilla.


Beat the eggs lightly and add them to the mixture along with the lemon zest. Mix again until it's all well combined. You can also do this step in a large bowl with a whisk or a hand mixer. There really is no wrong way to do it.


Bake at 180°C for 55 to 60 minutes. If needed, turn on the grill for a few minutes at the end. Let it cool in the oven for about 30 minutes, than let it cool completely at room temperature. It needs to set before you cut it, so I like to bake it a day before I mean to serve it, and refrigerate it overnight.

As you bake it, the pie will rise like crazy and might also crack (you have been warned). It will deflate as it cools down.


Optional (but not really): mixed berries sauce
For the sauce I used about ¾ cup (didn't measure) of frozen mixed berries. I put them in a saucepan with a tablespoon of water, tablespoon of sugar, and a splash of balsamic vinegar. I let it cook for about 10 minutes, than processed it in a blender, and strained it to remove the seeds before serving.


Enjoy!


Tuesday, 23 December 2014

The story of panettone: Don't buy it, make it

One of the things I like the most about Christmas time is that I get to eat panettone. I have a great aunt in Italy who traditionally provides me with the best one you can buy. I then eat it with indecent greed and guard it jealously so noone gets more than me. Yes, I am that childish.

However, I always really wanted to try and make it at home as we all know that home-made is generally better. Panettone has a reputation for being extremely tricky to make. My grandma, who is a sort of an authority when it comes to baking with yeast dough, told me that it's supposed to be really hard, that it takes a lot of time, and that I shouldn't even bother. Fortunately, I rarely listen to any advice, so I decided to make my research and at least give it a try.

I really did make my research. In the end I felt like I read and watched everything that the internet could provide on the topic of panettone. I decided on a recipe by Laura Vitale that seemed both traditional and simple enough. I made only two alterations. I substituted the active yeast with 14g of fresh yeast as fresh yeast is a traditionally used by Italian bakers, and left out any candied fruit because I just don't like it.

My first panettone. Don't listen to anyone who tells you it's too hard to make at home. It's not.

There are two things that I found were crucial for success when making panettone:
  1. Being gentle with the dough.
    It's okay to be not so gentle when you're making the dough, but once you put it away to rise you should really be careful what you do with it. Don't poke it. Don't slam the oven door once you put it in. Pretend the dough is asleep and any fast movement would wake it up.
  2. Creating a warm enough rising environment.
    The warmer your kitchen is the better. If it's too cold, the dough won't rise properly.

I have to say that when I try out new recipes, even if they are good in essentials, I usually always find something that I'm not completely satisfied with - the taste, sweetness, texture, you name it. This recipe, however, is perfect. There is not a single thing that I'd want to change. Needless to say, the panettone was of course better that the store-bought one.


Panettone admittedly does take a lot of time to make, because the dough has to rise twice. Altogether the process takes about 8 hours, but don't let that discourage you. It's more than worth it.

There are still two days till Christmas. Get your aprons on!